
 |
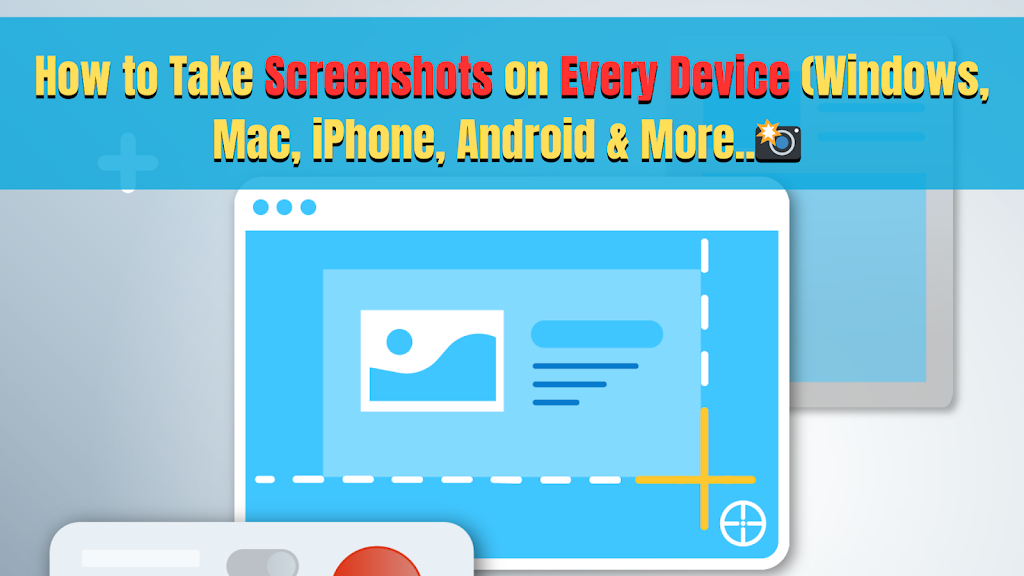
| 📸 How to Take Screenshots on Every Device (Windows, Mac, iPhone, Android & More!) |
📸 How to Take Screenshots on Every Device (Windows, Mac, iPhone, Android & More!)
Screenshots are an essential tool in today’s digital world. Whether you need to capture an error message, save a conversation, or create a tutorial, knowing how to take a screenshot on different devices can be very helpful.
In this guide, we’ll cover step-by-step methods for taking screenshots on Windows, Mac, iPhone, Android, Chromebook, Linux, and even gaming consoles like PlayStation and Xbox! 🎮
📌 Table of Contents
- How to Take a Screenshot on Windows
- How to Take a Screenshot on Mac
- How to Take a Screenshot on iPhone
- How to Take a Screenshot on Android
- How to Take a Screenshot on Chromebook
- How to Take a Screenshot on Linux
- How to Take a Screenshot on PlayStation & Xbox
- Best Screenshot Tools & Extensions
🖥️ How to Take a Screenshot on Windows <a name=”windows”></a>
Windows offers multiple ways to take a screenshot, depending on your needs.
✅ 1. Using the Print Screen (PrtScn) Key
🔹 Press PrtScn – Captures the entire screen and copies it to the clipboard.
🔹 Paste it into an image editor (Ctrl + V in Paint, Word, or Photoshop).
✅ 2. Capture a Specific Window
🔹 Press Alt + PrtScn – Captures the active window only.
🔹 Paste it (Ctrl + V) into an image editor.
✅ 3. Using Snipping Tool (Windows 7, 8, 10, 11)
🔹 Open Snipping Tool from the Start Menu.
🔹 Click New, select the area, and save the screenshot.
✅ 4. Using Snip & Sketch (Windows 10 & 11)
🔹 Press Windows + Shift + S – Opens the screenshot tool.
🔹 Select the area you want to capture, and it gets saved to the clipboard.
✅ 5. Taking a Screenshot & Auto-Saving It
🔹 Press Windows + PrtScn – Saves the screenshot directly to Pictures > Screenshots folder.
🍏 How to Take a Screenshot on Mac <a name=”mac”></a>
Mac users have built-in shortcuts to capture their screen.
✅ 1. Capture the Entire Screen
🔹 Press Command + Shift + 3 – Saves the screenshot to the desktop.
✅ 2. Capture a Specific Area
🔹 Press Command + Shift + 4 – Drag and select the area to capture.
✅ 3. Capture a Specific Window
🔹 Press Command + Shift + 4, then press Spacebar.
🔹 Click on the window to capture it.
✅ 4. Use the Screenshot Toolbar (macOS Mojave & Later)
🔹 Press Command + Shift + 5 – Opens the screenshot tool with recording options.
✅ 5. Copy Screenshot to Clipboard
🔹 Press Command + Shift + 4 + Control – Saves to clipboard instead of the desktop.
📱 How to Take a Screenshot on iPhone <a name=”iphone”></a>
✅ 1. Using Physical Buttons (iPhone X & Later)
🔹 Press Power + Volume Up simultaneously.
🔹 The screenshot will be saved in Photos > Screenshots.
✅ 2. Using Physical Buttons (iPhone 8 & Older)
🔹 Press Power + Home Button together.
✅ 3. Using AssistiveTouch (Without Buttons)
🔹 Go to Settings > Accessibility > Touch > AssistiveTouch and enable it.
🔹 Tap the AssistiveTouch menu > Device > More > Screenshot.
🤖 How to Take a Screenshot on Android <a name=”android”></a>
✅ 1. Using Physical Buttons
🔹 Press Power + Volume Down together.
🔹 The screenshot will be saved in Photos > Screenshots.
✅ 2. Using Gesture Controls (Some Android Phones)
🔹 Swipe three fingers down (Available in OnePlus, Xiaomi, etc.).
✅ 3. Using Google Assistant / Bixby
🔹 Say “Hey Google, take a screenshot” or “Hey Bixby, take a screenshot”.
💻 How to Take a Screenshot on Chromebook <a name=”chromebook”></a>
✅ 1. Capture Entire Screen
🔹 Press Ctrl + Show Windows key.
✅ 2. Capture a Specific Area
🔹 Press Ctrl + Shift + Show Windows and select the area.
✅ 3. Copy Screenshot to Clipboard
🔹 Press Ctrl + Shift + Windows – Saves the screenshot to clipboard.
🐧 How to Take a Screenshot on Linux <a name=”linux”></a>
✅ 1. Using Print Screen
🔹 Press PrtScn – Captures the entire screen.
✅ 2. Capture a Specific Area
🔹 Press Shift + PrtScn and drag the selection.
✅ 3. Using Screenshot Tools (Flameshot, Shutter)
🔹 Install Flameshot or Shutter for advanced screenshot options.
🎮 How to Take a Screenshot on PlayStation & Xbox <a name=”gaming-consoles”></a>
✅ PlayStation 5 & 4
🔹 Press Create (PS5) or Share (PS4) button, then select Take Screenshot.
✅ Xbox Series X/S & One
🔹 Press Xbox Button > Y to take a screenshot.
🛠️ Best Screenshot Tools & Extensions <a name=”screenshot-tools”></a>
If you’re looking for advanced screenshot tools, check out these options:
🖥️ Windows & Mac Screenshot Tools
✅ Snagit – Best for screen recording & annotation.
✅ Lightshot – Quick & easy screenshot tool.
🌐 Chrome Extensions
✅ GoFullPage – Captures full-page screenshots.
✅ Nimbus Screenshot – Takes screenshots & records the screen.
🎯 Final Thoughts
Taking a screenshot is an essential skill, whether you’re using Windows, Mac, iPhone, Android, or gaming consoles. With these step-by-step guides, you can now capture anything on your screen with ease!
Let us know in the comments if you found this guide helpful or if you need additional methods for a specific device. 🚀📸